Showing posts with label Photographing Oil Paintings. Show all posts

Sunday, February 10, 2013

Painting Light and Shadow

I took new pictures of a painting from 2010, with my new lights, new camera and come to think of it a new tripod. Seems there have been many upgrades in the studio over the last couple of years.
Enlightenment, 24x24, oil on panel. 


The tripod I'm in love with! Ravelli APGL4 New Professional 70" Tripod with Adjustable Pistol Grip Head. The pistol grip thing is great and the ball joint to shoot vertical is very smooth.

It is heavy and I wouldn't want to use it for hiking but in the studio I love it. I have broken three canon tripods in the last few years, seems there are always little plastic pieces breaking off. So this time I spent a little bit more to get a better quality and I think this one will last.

My camera is one I bought to produce The Incognito Project book. We needed larger than life-sized super close-ups for two page spreads. It's a Canon EOS Rebel T3i 18 MP CMOS Digital SLR Camera.
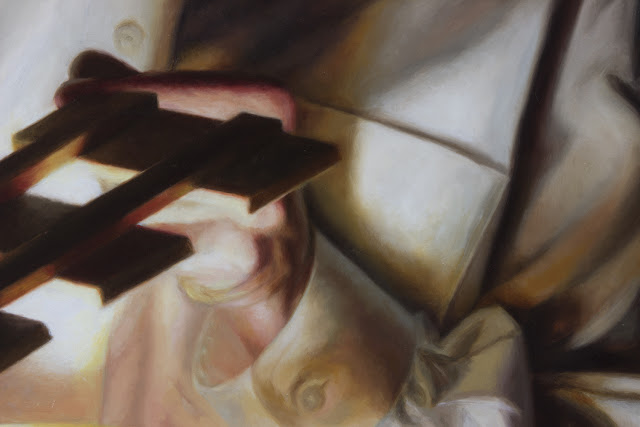
The Activist,  detail, The Incognito Project book
I am still using an upgraded lens I bought a few years ago, the Canon, 24-85mm, Ultrasonic.

Read my other posts about Enlightenment, or about shooting photographs of your paintings.

Wednesday, October 26, 2011

How to Photograph Oil Paintings, Part 2

I have previously shared my method for photographing oil paintings, always a challenge and now I'm adding an addendum.

This week I've been photographing six paintings for my upcoming Peterson-Cody Show, two of which have a very dark background. I was having difficulty getting good pictures because the walls of my studio, the legs of the tripod and the silver on the camera, even my pale mug were reflected in the dark areas of the painting.
This is what I was finally able to get after much fumbling around and experimenting. 
For you the short version - here's what worked.
I wrapped a piece of black fabric around the tripod and camera, I wore a long sleeved back T shirt and I stepped to the side so my face wasn't reflected and used a cable release to take the picture. A cable release is always a good idea.
I also draped a piece of the fabric over a frame made of 1x4's that was clamped to a sawhorse and stood it behind the tripod so that it was reflected in the painting rather than the light colored wall. (luckily the frame was still in the studio from a photo shoot I'd done this weekend, the orange fabric you see is from that shoot).

I suppose I could have covered the wall with a big black sheet. Maybe I should paint that wall a dark color?
Another thing I've added is a Kodak, Q-14 Color Separation Guide. Magazines and printers use these to color correct for publication purposes. I've never used one before but thought it was time to start.
Here's the previous post about my method for photographing oil paintings.
Ode to Melancholy, 24x36, oil on panel
This is a video about the body of work I was documenting and shipping off to Peterson-Cody Gallery this week. (more about the shipping drama and solutions in a couple days!)


The opening is November 4, 130 West Palace Avenue, Santa Fe, NM. If you're in town stop in and say hi, I'll be in town.

Monday, June 28, 2010

How to Photograph Oil Paintings

Photographing oil paintings has always been tricky and I've struggled for years to get satisfying results. Problems in the past included uneven lighting, fuzzy details, and glare.This new set up gives the best images I've ever had so I thought I'd share.

I have four light stands each with a 33" white translucent umbrella, "premium" light sockets with 65 Watt 5000K UL listed florescent light bulbs. These are "continuous light" not "strobes". It's important that all the bulbs are the same so they all have the same color. Most of my equipment came from CowboyStudio.com. It costs about $100 for two stands, light sockets, bulbs and umbrellas. To photograph smaller paintings two lights may be sufficient.


The lights are arranged at the sides of the paintings rather than in front of them. This "raking" light minimizes glare. To be able to do this the painting is sitting on an easel rather than hanging on a wall. If light pollution from a window is a concern just draw the shades or shoot at night.

My camera is a digital Canon Rebel XTi. After some serious instruction manual reading I set it to Manual Mode, set the custom white balance (by photographing a white poster board under the lights) and set the f stop on 3.5 and Auto Bracket. I use an Ultrasonic 24-85mm lens 1:3.5-4.5. I also use a shutter release cable which prevents camera shake when I take the picture.

I use a tripod, determine the exact middle of the painting from the floor (involves math) and set the tripod so the camera lens is at that height from the floor. Adjust the tilt of the camera angle up and down so there is as little distortion as possible.

Finally I download them to my trusty iMac, perspective crop in Photoshop to crop out my messy studio. There is very little to do in color adjustments. Usually they can be adjusted using levels and channels.

I usually photograph the paintings a second time after varnishing and the results are even better.

I'm sure my photographer friends will see a number of things I could do better and I'm all ears! The process is eternally evolving.

That's easy enough, right?

Update: I've done another post about photographing particularly challenging dark paintings, Photographing oil paintings, Part 2

Interested in signing up for my email newsletter? Subscribe Here

Terry's Website

LinkWithin

Related Posts Plugin for WordPress, Blogger...